Car-O-Liner: How not to get tripped up on auto body measurements, tolerances
By onEducation | Repair Operations | Technology
Misunderstanding of how much wiggle room truly is permitted by tolerances can lead to errors on a vehicle being measured, I-CAR and Car-O-Liner experts indicated in a February Collision Hub video on pulling.
Co-presenter Jason Bartanen, I-CAR industry technical relations director, called tolerance one of his least favorite subjects and “a crutch.”
Car-O-Liner Training Academy manager Mike Hoeneise called it a tricky topic.
“You have to open your mind a little bit,” he said.
Collision repairers confronted with a typical tolerance of 3 mm mistakenly think, “‘If I’m within 3 mils, I’m good,'” according to Hoeneise.
But if one measurement is +3 and another is -3, there’s actually 6 mm of difference between the two points, he said. You’ve exceeded the tolerance by 3 mm.
Instead, everything on the vehicle needs to be within 3 mm, Hoeneise said.
“It’s a crutch,” Bartanen said of tolerance. He said collision repairers needed to look at the entire picture, not a single measurement.
Hoeneise said he talks about the vehicle being centered, leveled and square.
If something isn’t centered and sits at +3, perhaps it needs to be pulled 6 mm to -3 so it is both centered and within tolerance, Hoeneise said.
Sometimes, tolerance considerations are component-specific, according to Hoeneise.
He gave the example of two front frame rail flanges at different distances, with some sway. Attempting to key the vehicle to a center measurement on an undamaged bumper beam might not produce the desired result, according to Hoeneise; a frame rail itself might still be out of tolerance and lead to difficulty installing some other part like a headlight. Better to have the bumper beam off-center +2 or +3 to keep the frame rails centered, he said.
Another measurement issue might arise with advanced driver assistance systems. Some vehicles have specifications for the technology attached to it, but often, it’s nowhere to be found the the OEM repair procedures, according to Hoeneise.
What’s a conscientious shop to do during the pulling process to ensure the crucial ADAS technology sits where it’s supposed to be?
Hoeneise said he says, “‘Check the components around it.'” If all of those parts are where they’re supposed to be, it’s likely the ADAS system will be in the correct place.
Asked by Bartanen how often he checked measurements, Hoeneise said, “I would check them after every pull.” He also said a shop will want to perform “three-section measuring” — front, center and rear — on every vehicle.
Are the measurements wrong, or are you?
A popular question to the Car-O-Liner Data Department involves measurements that seemingly don’t make sense, according to Hoeneise.
Once in while, there is indeed an error on the data sheet or the manufacturer changed a vehicle’s dimensions, according to Hoeneise.
However, most of the time, Car-O-Liner traces it back to the shop having selected the incorrect data sheet or committing “some sort of user error,” he said. Maybe the vehicle moved during the pull, or the measurement was done improperly, he said.
Confronted with a seemingly erroneous measurement, Hoeneise said his typical assumption is, “‘I’ve done something.'”
“Just be flexible,” he said. Sometimes a technician just has to find a different plan.
Unapproved benches and measurements
Audi collision programs Director Mark Allen last year also presented another crucial consideration for shops measuring vehicles: The peril of using an third-party bench not approved by the OEM.
Approved manufacturers work with the OEM “well before” a particular Audi goes on sale at dealerships, Allen said in a November VeriFacts Guild 21 call. All of them provide CAD data and prove they can hold measurements and tolerances in many different ways — “way too many to go into” during the call, he said.
Other frame machine manufacturers might claim to have Audi measurements, Allen said.
“The fact of the matter is: No they don’t,” he said.
Those manufacturers typically rent a bunch of Audis, measure them and develop an average measurement and production tolerance, “which is dangerous,” Allen said.
A gap on an Audi door might have a tolerance of ± 0.5 mm, perhaps 1 mm in some cases, according to Allen. The unapproved Audi manufacturers’ reverse-engineering could produce a production tolerance on top of a production tolerance, he said, describing a scenario similar to what Hoeneise presented.
If the frame bench manufacturer sticks a 3 mm production tolerance on Audi’s 0.5-1 mm tolerance, the vehicle could wind up being off as much as 6-9 mm, according to Allen.
“That’s far from acceptable,” he said.
Audi also keeps its approved companies in the loop when it comes to production changes, allowing them to modify their jigs accordingly.
For example, he said, a particular Celette jig might only be appropriate for vehicle Nos. 1-10,000 of a production run. On vehicle 10,001, a different jig is required.
“That’s because of those changes,” Allen said.
More information:
“Structural Anchoring And Pulling Strategies From I-CAR”
Collision Hub YouTube channel, Feb. 24, 2018
Images:
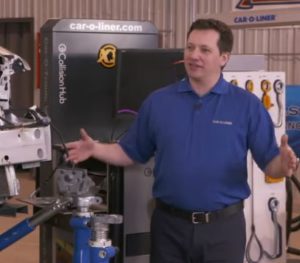
Car-O-Liner Training Academy manager Mike Hoeneise discusses on a Collision Hub video how a +3 and -3 mm measurement can be misunderstood as within tolerance but are really a unacceptable 6 mm spread. (Screenshot from Collision Hub video)
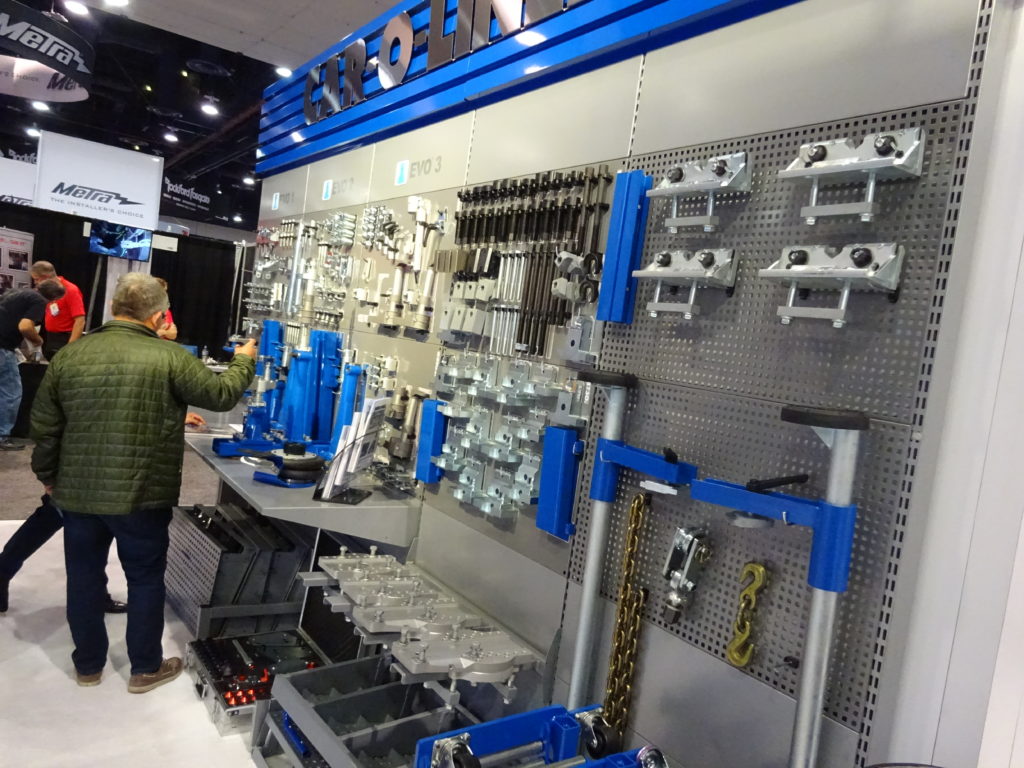
Car-O-Liner’s EVO 1-3 fixtures appear at SEMA 2017. The system is approved by Audi for collision repair facilities. (John Huetter/Repairer Driven News)

